
2″ MX5 Header Development
After a couple of months of development we finally have a finished product. We won’t bother reposting the FB/instagram feed here but you can follow along if you’d like: https://instagram.com/motoeast/
Basically we started off by mocking up a full sized jig on the back bench. We had a 2.0 motor, a 6 speed, and pulled the alternator and motor mount from our car to test fit. Then using the 2.5 in our car, we ensured there was enough clearance for a 2.0, 2.5, and 2.5 using lowered motor mounts.
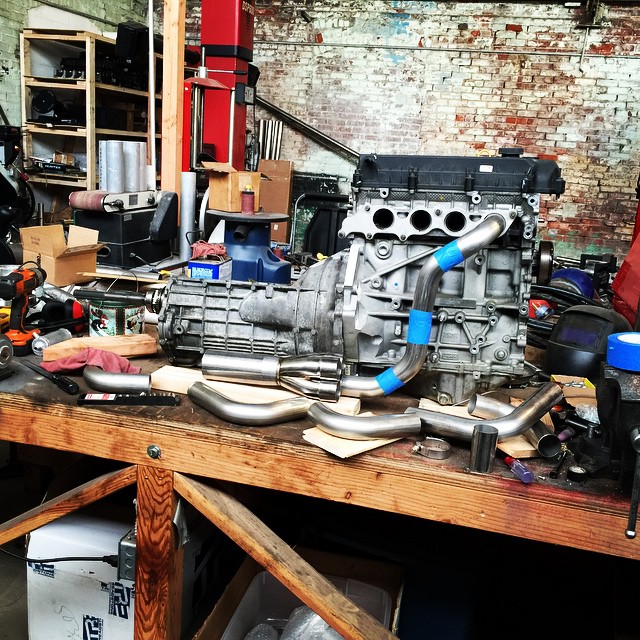
What became very apparent is that to fit 2″ tubes, you need a minimum of 6″ block to frame clearance since the only way to get equal length tubes–you have to stack 3. A typical 1.625 header only needs 4.9″. The other consideration is being able to install it without having to pull the motor.
With this in mind we went to work. After a few days of trial and error, we ended up having something that was starting to look pretty good.
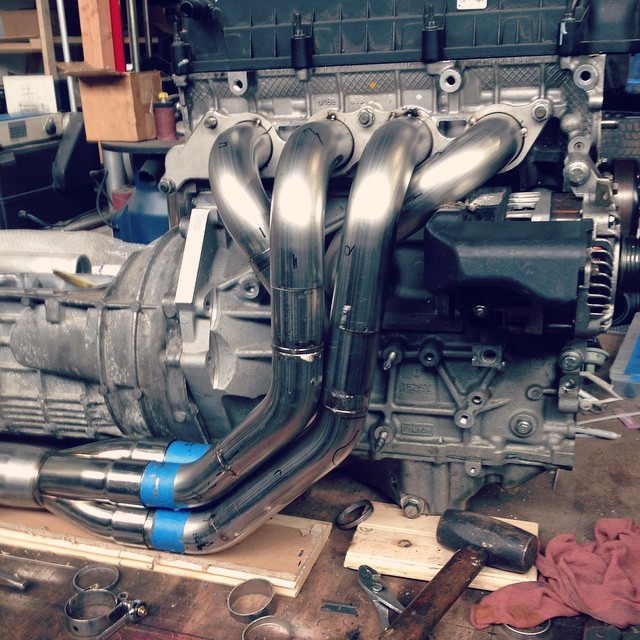
However as we test fit the header, there were some minor issues that would be a deal breaker for some. The clearance to the alternator was not sufficient, the collector was touching the trans on the 2.5, and we were hitting the subframe pinch weld would would have to be notched. Not quite up to our standards. So it was back to the drawing board. We adjusted our fixture to push the collector back just a bit, and rotated it about 5 degrees to match the motor’s tilt. This allowed for more clearance to the motor mount, got us away from the subframe, and gave more clearance to the transmission bell housing. This adds some time and cost as we have to use more pieces, but well worth it for the final product.
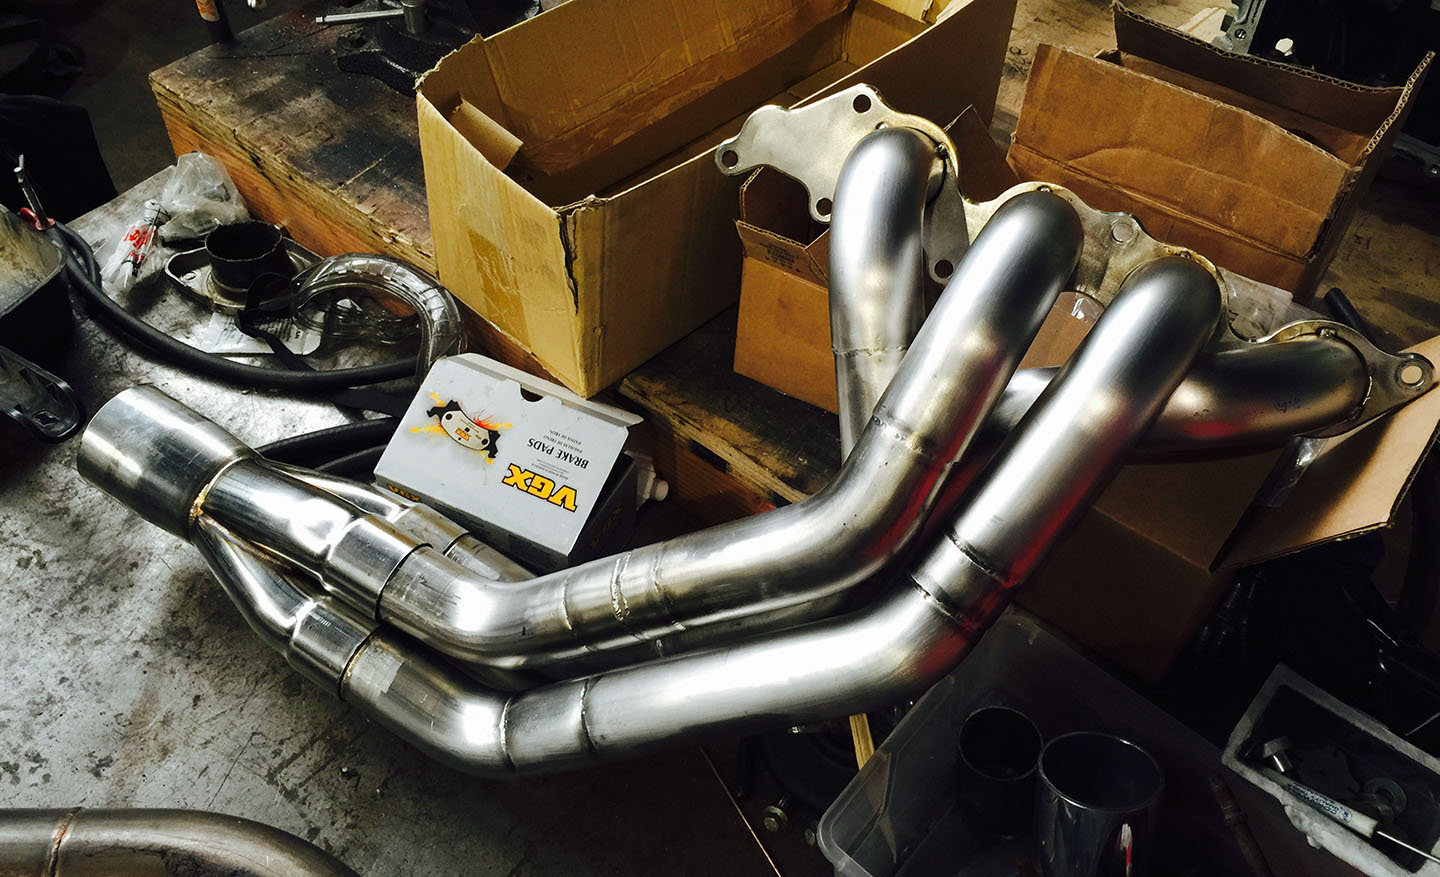
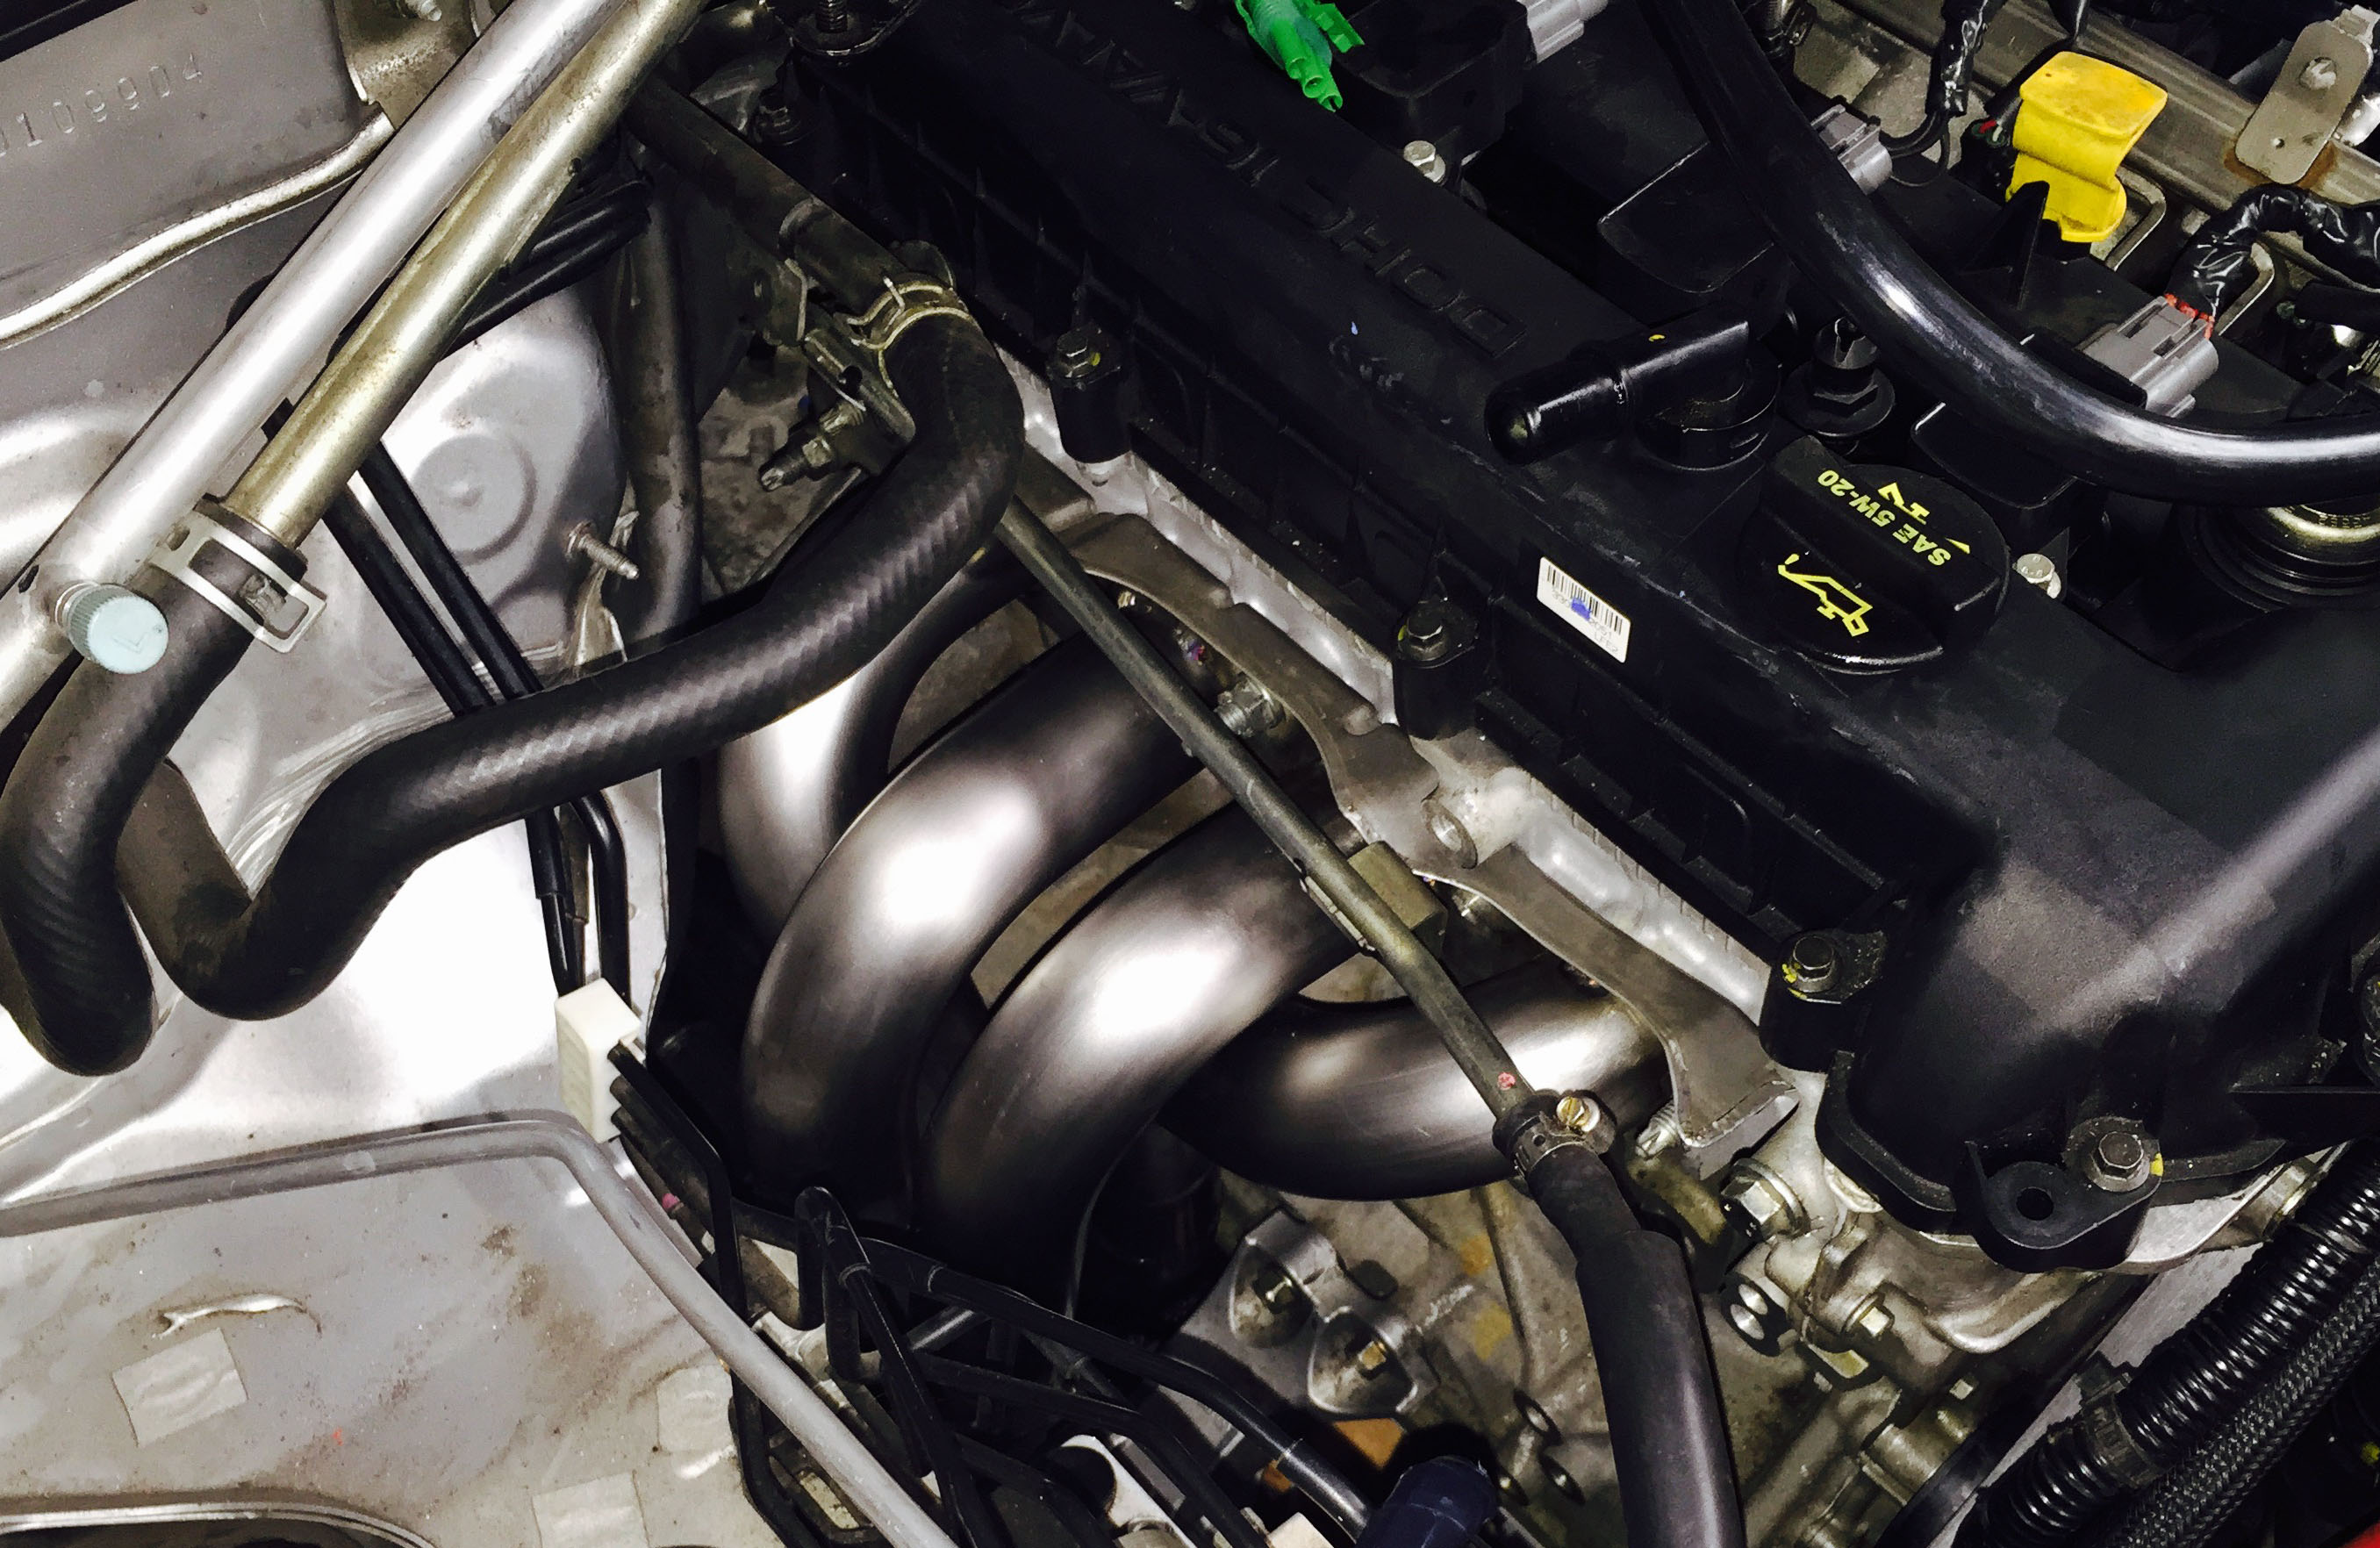
The near finished header above is what we tested on the dyno. We’re still waiting on the a-b tabs that will hold the tubes securely to the collector, so they are just tack welded here. One of the runners (#3) we also tweaked a bit after the picture to get a straighter exit from the collector and ensure tight sealing. Our testing so far has been leak free and sounds great.
Now, the results. We took a standard 2.5 motor that we rebuilt this winter and used the same cams from our build last year. After a very abridged break-in the motor performed identical to last year on the road. We put the header on at 5pm on a Friday, and hit the dyno Saturday morning. We only managed a brief 1/4 mile drive beforehand, and the power difference was readily apparent as it spun the wheels on gear change into 3rd! The amazing thing was the torque curve. There were no dips, no peaky nature as you might expect with a large primary header. It was there 2500 and up just like the stock motor, only more of it.
After about a half hour on the dyno we settled on the following results:
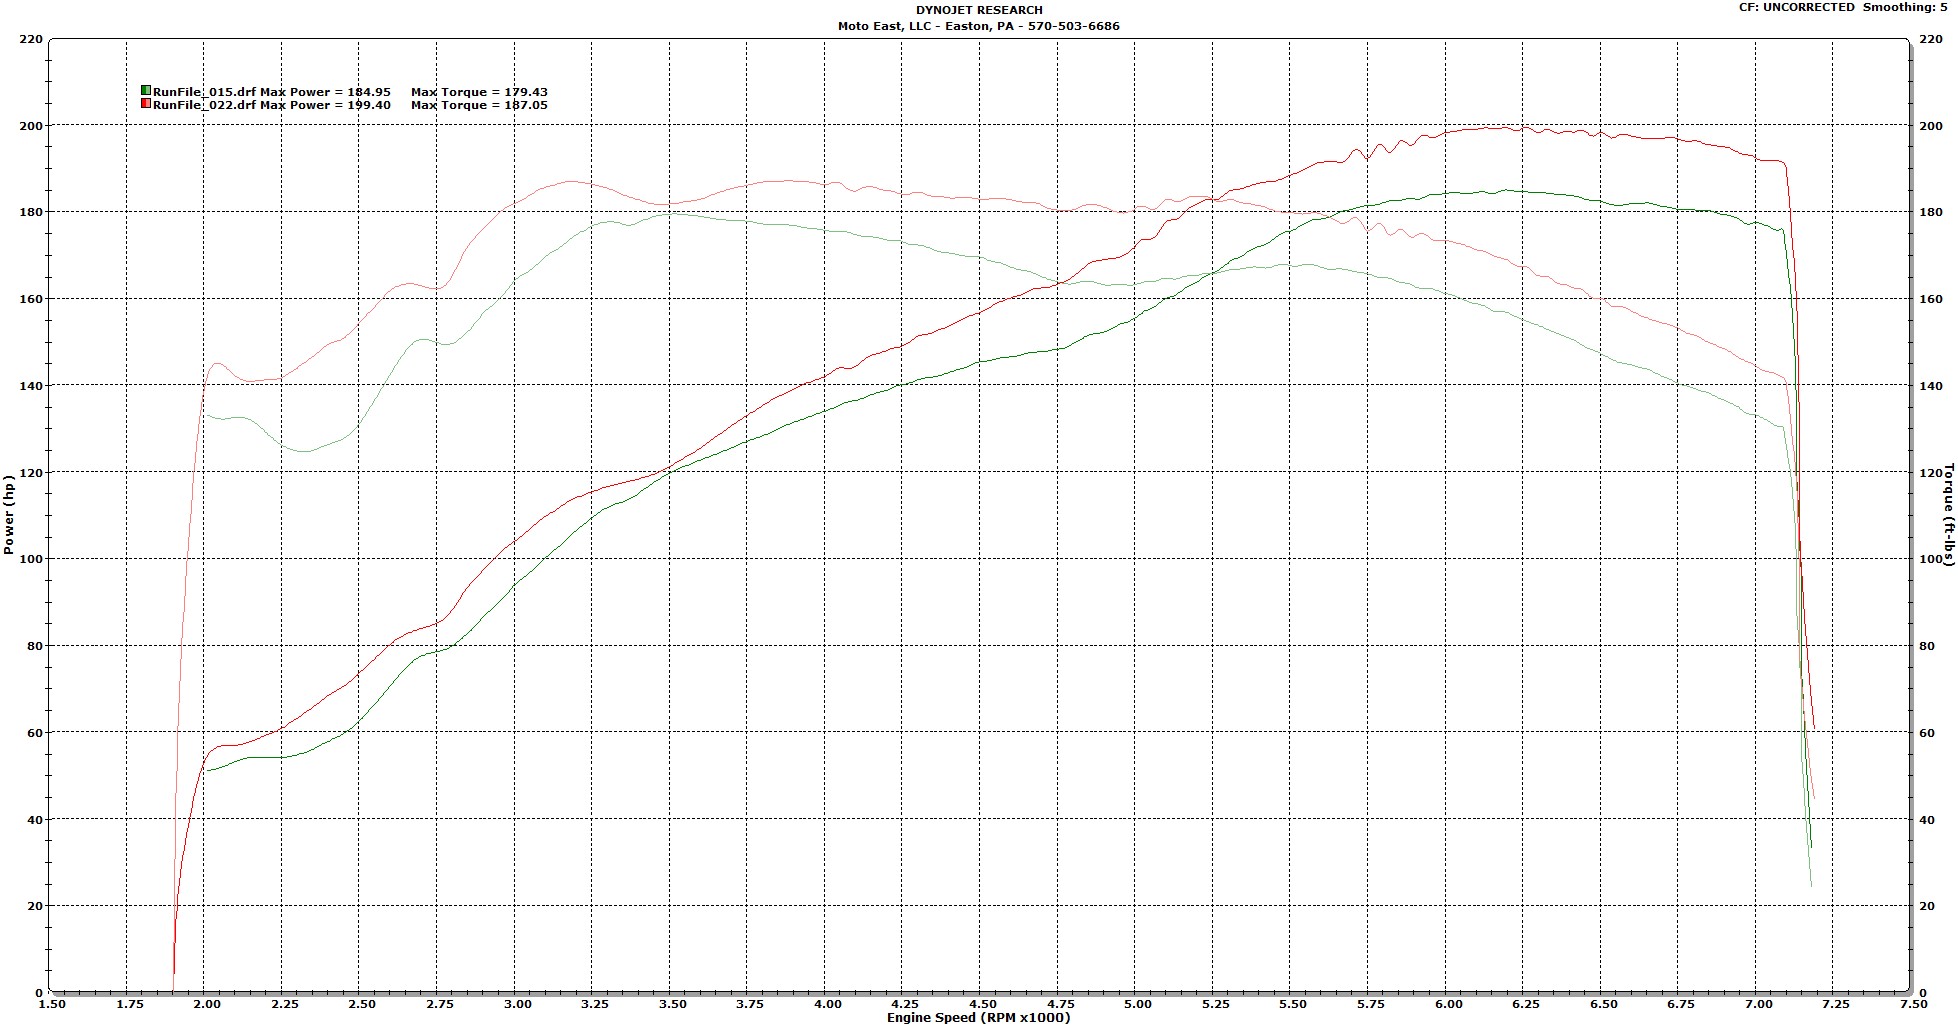
199.4 to the wheels! This is just 10-15 HP off of the World Challenge cars which use a 12:1 compression ratio and very aggressive cams. If we had more time we could have hit the magic 200hp number, but we had customer cars to do and it was running out of gas. But this shows you that you can have your cake and eat it too! In the near future we will have other upgrades that will complete the picture and perhaps we will finally get to the 250hp NA figure before the end of the year.
Leave a Reply
You must be logged in to post a comment.